Sidebar
projects:internetofthings:googlehome
**This is an old revision of the document!**
GOOGLE HOME
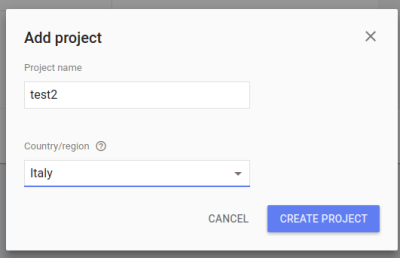
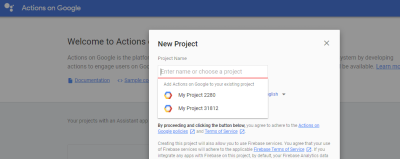
- Create a new project in the https://console.cloud.google.com/home/dashboard console
- Specify project name and country
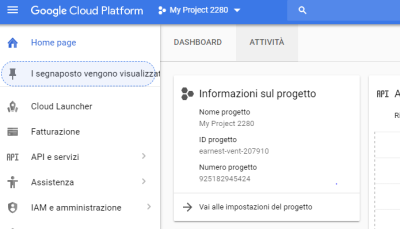
- Now you get a new project to the cloud console. Here you get a new project_id.
- Enable HOMEGRAPH API to the new project.

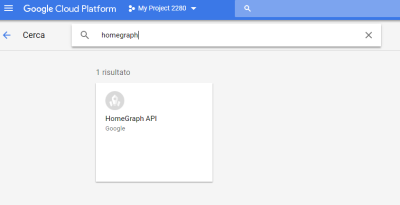
- Generate a new API key (the same Api key of apikey: in googleassistant.yaml)
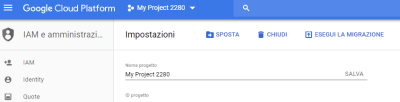
- IAM E amministrazione/impostazioni/ESEGUI LA MIGRAZIONE (By this, they share the same projectid request in googleassistant.yaml)
- Create a new project in the developer console.https://console.actions.google.com
- Add/Import project, give it a name (The same project created by the Google Cloud platform above)
- Click on Home Control card, select the Smart home recommendation
- Create an Action, under the build section. Add in your url: https://[YOUR HOME ASSISTANT URL:PORT]/api/googleassistant, replace the [YOUR HOME ASSISTANT URL:PORT] with the domain / ip address and the port your Home Assistant is reachable. If you have set apipassword: add this password to the URL - eg https://[YOUR HOME ASSISTANT URL:PORT]/api/googleassistant?apipassword=[YOUR API PASSWORD])
- Click Done. Then click on Overview, which will lead you back to the app details scr}}een.
- Account linking is required for your app to interact with Home Assistant. Set this up under the Quick Setup section
- Leave it at the default No, I only want to allow account creation on my website and select Next
- For the Linking type select OAuth and Implicit
- Client ID: The clientid from your Home Assistant configuration above - Authorization URL (replace with your actual URL): https://[YOUR HOME ASSISTANT URL:PORT]/api/googleassistant/auth. If you have set apipassword: add this password to the URL https://[YOUR HOME ASSISTANT URL:PORT]/api/googleassistant/auth?apipassword=[YOUR API PASSWORD]) - CONfigure your client. Add scopes for email and name. - Testing instructions: Enter anything. It doesn’t matter since you won’t submit this app.
* Back on the overview page. Click Simulator under TEST - you don’t have to actually test .
* If you haven’t already added the component configuration to configuration.yaml and restarted Home Assistant, you’ll be unable to continue until you have. ==== googleassistant.yaml ====
<code> googleassistant: projectid: someproject-2d0b8 clientid: [long URL safe random string] accesstoken: [a different long URL safe random string] agentuserid: [a string to identify user] apikey: [a Homegraph API Key generated for the Google Actions project] exposeddomains:
- switch
- light
- group entityconfig: switch.kitchen: name: Custom Name for Google Assistant aliases: - bright lights - entry lights light.livingroom: expose: false room: living room </code>
- Reset Home Assistant and TEST ACTION
- Open the GOOGLE HOME APP and go into Settings > Home Control
- Click the + sign, and near the bottom, you should have [test] your app name. Selecting that should lead you the screen where you can set rooms for your devices or nicknames for your devices.
- If you want to allow other household users to control the devices:
- GO to the settings for the project you created in point 1 in the developer console.
- UNder the gear icon, click Permissions - Click Add, type the new user’s e-mail address and choose Project → Editor role
- Have the new user go to developer console and repeat steps starting from point 4
- Open the Google Assistant app and go into Settings > Home Control
- Click the + sign, and near the bottom, you should have [test] your app name. Selecting that should lead you the screen where you can set rooms for your devices or nicknames for your devices.
projects/internetofthings/googlehome.1529599762.txt.gz · Last modified: by denfra